Reactive Weather Overlay for OBS + Streamer.bot: Full Setup Guide
A free OBS browser source that turns your Twitch chat into weather. The busier chat gets, the worse the storm. Here's the full setup, plus how to hook your own Streamer.bot actions into each weather state.
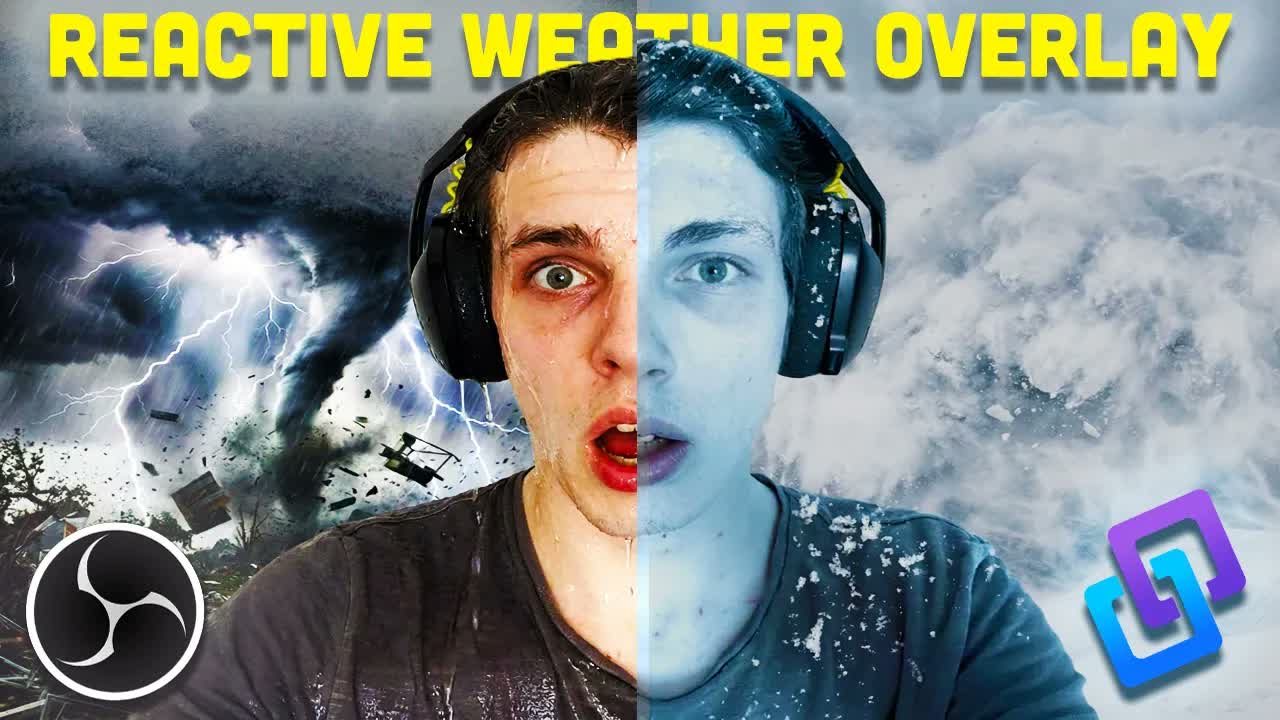
Most overlays sit there looking pretty and do nothing. This one reads the room. When chat is quiet the sky stays calm. When chat kicks off, the weather turns on you: rain, lightning, the lot. Bits, subs, follows and raids all feed into it too.
It's one OBS browser source with a Streamer.bot import behind it, and it's free. Setup takes about five minutes. Here's the whole thing written out so you don't have to scrub through the video.
What you need first
- OBS Studio 28.0 or newer
- Streamer.bot 1.0.0 or newer, installed and running (download it here)
- The Weather Forecast Chat pack, free from Ko-fi
- About five minutes
Step 1: Grab the pack
- 1
Open the Ko-fi listing
Head to the Weather Forecast Chat overlay on Ko-fi.
- 2
Set the price to zero
It's pay-what-you-want. Type
0in the amount box and it's free. Tip later if it earns it. - 3
Check out and open your content
Hit Get now, run through checkout, then View content and download the zip.
- 4
Unzip it somewhere sensible
Copy the extracted folder into Documents or wherever you keep your stream files. Don't leave it sitting inside the zip, because OBS needs real files on disk.
Step 2: Import into Streamer.bot
- 1
Open Streamer.bot and hit Import
The Import button is at the top of the window. It opens a large empty text box.
- 2
Drag the import file in
Drag
Streamer.bot import.txtstraight into that box. Streamer.bot fills in and shows you everything it's about to add. - 3
Confirm the import
Click through the confirmations. When it finishes, open your Actions tab and you'll see the full set of weather actions listed.
Step 3: Add the browser source in OBS
In OBS, click the + under Sources, choose Browser, pick Create new, and name it something like Weather Overlay. Leave that properties window open for now, because you need a URL from the settings page before you can fill it in.
Step 4: Configure it, then copy your URL
Go back to the overlay folder and double-click settings.html. This is the control panel for the whole overlay. It sets what shows, how it behaves, and how aggressive the weather gets. Change whatever you want in here.
Back in OBS, paste that URL into the URL field of the browser source, over whatever's already in there.
Step 5: The browser source settings that matter
- Width `1920`, Height `1080`. The overlay is built for a full 1080p canvas. If you resize the source in the scene without setting these, the effects get cropped or land in the wrong place.
- Control audio via OBS, on. The overlay has sound. Without this you can't mix it, mute it, or keep it out of your VOD.
- Shutdown source when not visible, on. Stops it eating resources on scenes where it isn't shown.
- Refresh browser when scene becomes active, on. You get a clean state every time you switch to the scene.
Hit OK. That's the setup done and the overlay is live.
How the weather actually reacts
The core mechanic is chat speed. The faster messages come in, the further the weather escalates. Streamer.bot exposes the five states it moves through:
- Breezy. Barely anything happening.
- Calm. Steady, normal chat.
- Cloudy. Picking up.
- Stormy. Chat is properly moving.
- Chaos. Full meltdown, and it looks like it.
On top of that, Twitch events land as their own effects. Emotes rain down the screen when chat spams them. Subs, bits, follows and raids each push their own visuals through, and when several hit at once the storms stack and combine. Put a raid on top of a sub train and you'll see it.
Making it yours: hook into the weather states
This is the part worth knowing about. Those imported actions (On Breezy, On Calm, On Cloudy, On Stormy and On Chaos) fire automatically whenever the overlay changes state. They're ordinary Streamer.bot actions, so you can drop any sub-action you like inside them.
Right-click inside the action, choose Add, and pick whatever you want to happen. A few ideas that work well:
- Post a chat message when the stream tips into Chaos so chat knows they did it
- Switch scenes, or push a camera filter, when you hit Stormy
- Fire a sound effect on the transition into a new state
- Change your OBS colour correction so the whole scene shifts with the weather
- Trigger a Hue or Nanoleaf light change through Streamer.bot so your room matches the sky
If something isn't working
- Nothing reacts at all. The overlay talks to Streamer.bot over WebSocket. In Streamer.bot go to Servers/Clients, then WebSocket Server, and make sure it's enabled and running on port
8080. - It worked, then stopped after you changed a setting. You changed
settings.htmlbut didn't copy the new URL into OBS. The URL is the config. - Effects are cut off or in the wrong place. The browser source isn't
1920x1080. Set the dimensions in the properties window. Dragging the source smaller in the scene won't do it. - You can't hear it, or it's missing from your VOD. Control audio via OBS is off.
- Streamer.bot shows the actions but nothing fires. Having Streamer.bot open isn't the same as having it connected to your Twitch account. Check the connection.
The pack is free and includes the overlay, the settings page and the Streamer.bot import in one download.
Download the weather overlay freeIf you get stuck anywhere in this, say so in the Discord and I'll walk you through it.
Frequently asked questions
- Is the reactive weather overlay free?
- Yes. It's a pay-what-you-want download on Ko-fi. Enter 0 and you get the full pack, including the overlay, the settings page and the Streamer.bot import file.
- Do I need Streamer.bot for this overlay to work?
- Yes. The overlay reads Twitch chat and events through Streamer.bot over WebSocket. Import the included package, make sure the WebSocket server is enabled on port 8080, then paste the URL from settings.html into an OBS browser source.
- What size should the OBS browser source be?
- 1920 by 1080. Set the width and height in the browser source properties. Scaling the source in the scene leaves the weather effects cropped or misaligned.
- How do I change the overlay settings after setup?
- Open settings.html again, make your changes, then copy the updated URL from the bottom left of the page and paste it back into the OBS browser source. The settings live inside the URL, so the old URL keeps the old configuration.
- Can I make my own things happen when the weather changes?
- Yes. The import adds On Breezy, On Calm, On Cloudy, On Stormy and On Chaos actions to Streamer.bot. Add any sub-actions you like inside them and they'll fire automatically whenever the overlay enters that state.
- Does it work on YouTube or Kick as well as Twitch?
- The weather reacts to chat speed and Twitch events like bits, subs, follows and raids, so Twitch is where it works best. Anything Streamer.bot can receive from another platform can be routed into the same actions manually.